Papa and I had several conversations about this. I asked him to be the voice of reason.
I had to pick a design. Visions of the bow crashing over swells on the inside passages of the Pacific Northwest, Jack my dog standing on the bow looking heroic in the rabid seas as the sails are filled with wi--I need to pick a design. Something kind of simple. Something that could conceivably round cape horn while keeping me and my love afloat, I'd squeeze her closer as the rain is driving into us and threateni--I NEED TO PICK A DESIGN. I swear I'm not prone to over romanticizing or daydreaming.
Okay I want a sailboat. Check. I want it to have a cabin. Check. And, uh, sails. Check. Jack should be able to fit. Courtney too. Oh and Scout, her dog. Maybe a cat, two cats? Wait am I building a sailboat or an ark? What's the difference? They both float right?
I really don't know anything about sailboats, or sailing. Papa said look at Jim Michalak's plans, keep it under 20 feet long. He says the amount of fun a boat is, is inversely proportional to it's size. Plus I need to learn how to sail. I keep reminding myself.
How about this one?
Yeah that looks good. I've seen one before.
Can I learn to sail in it
and take it to Alaska?
Well...I think you could.
That's all the encouragement I need!
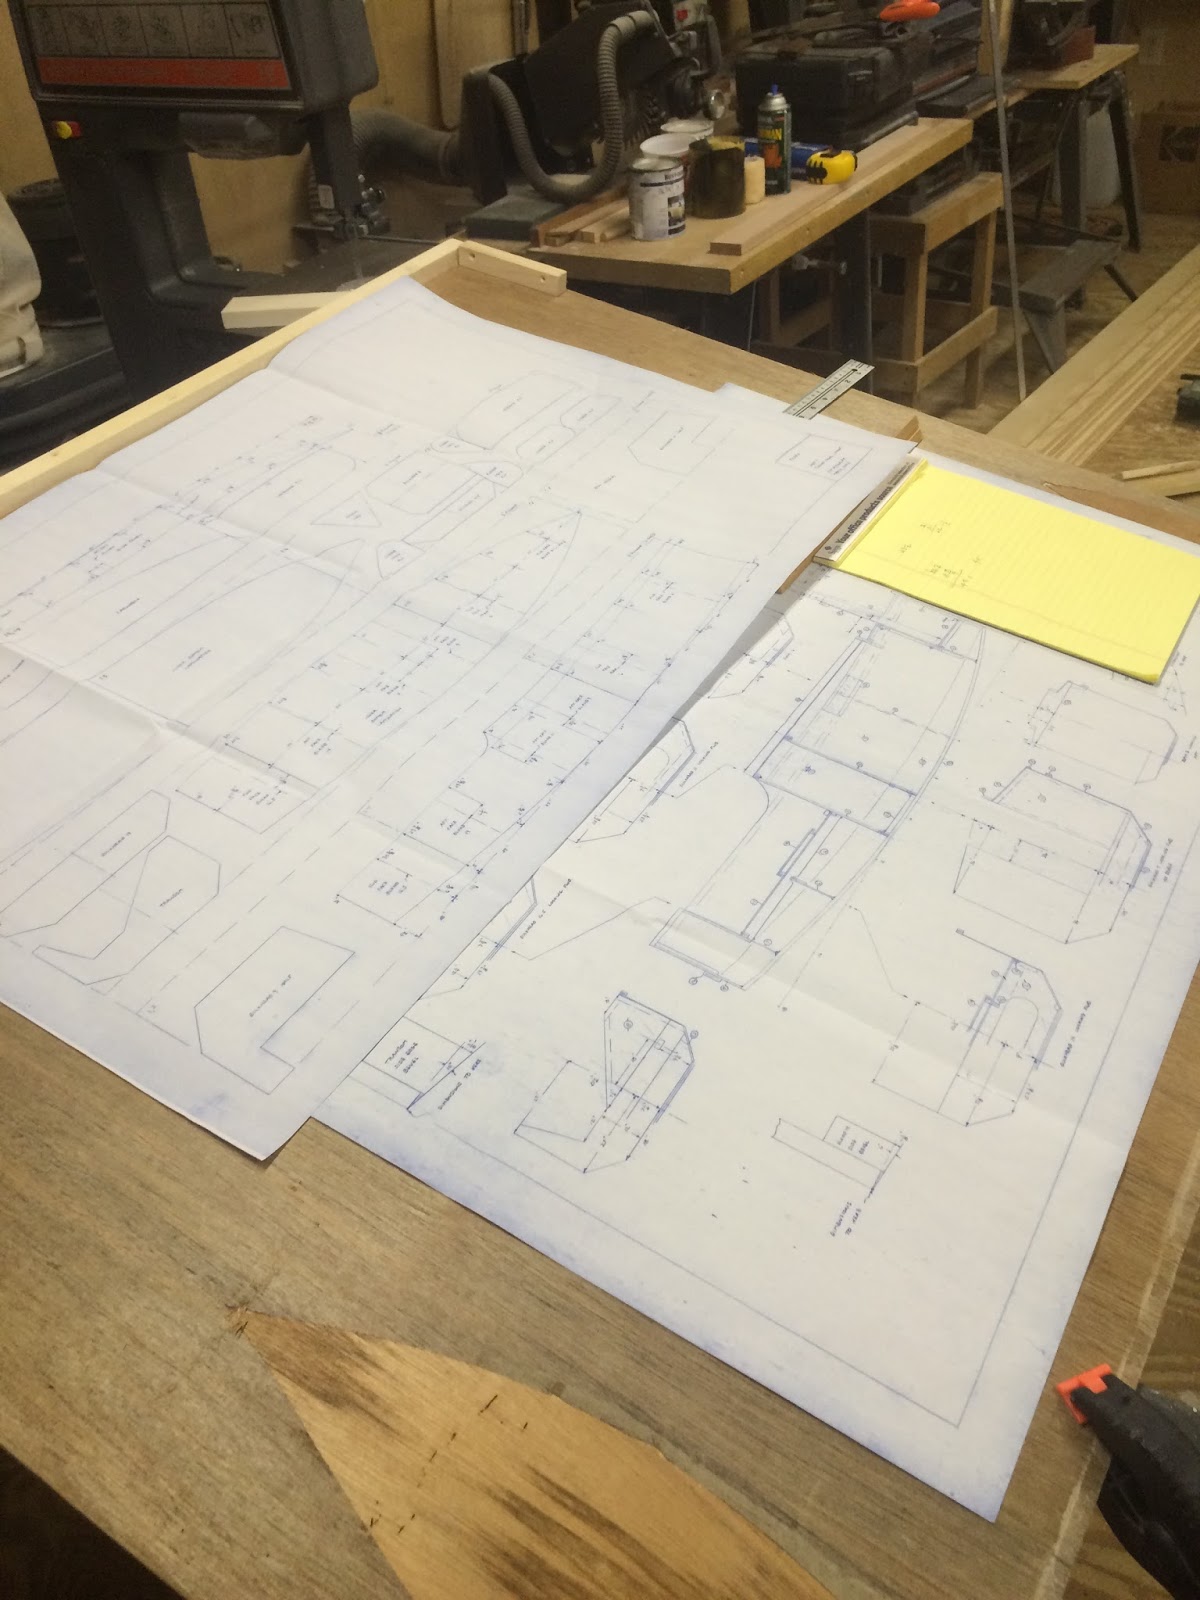
Plans are ordered. Shopping lists made. But lets look at the shop for a moment. Wait how long is this boat supposed to be...18ft! And 6ft wide!
The working space in the shop is about 20 ft by 10ft. The tools can be shuffled around as needed. Rolling the hull will be interesting. It should fit out the door.
I notice at this point that I'm getting way too excited. It's probably best to do something to give me a reality check, something that always dampens my spirits, something like shopping.
I'll start with a pile of plywood, a few handfuls of quality pine sticks and 6 gallons of epoxy. I want to make a quality boat and opt for better than most grade materials. The 1/4 plywood is a 5 ply Baltic Birch which Papa has done some testing on to ensure the glue holds up. It's sanded on both faces and quite pleasant to work with. The 3/8 and 1/2 inch plywood are marine grade, aka expensive, quite rough and prone to splintering. I've already made my peace with the needle and peroxide.
All of the fasteners that will be left in the boat are stainless steel. The nails are ringshank and impossibly hard to remove. The screws are square drive and somewhat slip resistant, but occasionally round out under weak pressure. The idea is that everything is actually held together with epoxy. The fasteners could be removed after the glue cures and be just as strong. We'll leave them in anyway for good measure.
The real work is about to begin, but first a little about the design.
Picara - A woman who is a rogue or adventurer
I found the design off of Duckworks Boat Building Supply - duckworksbbs.com
Jim Michalak has an extensive listing of plans on this site and more resources on his own site - jimsboats.com
Jim's plans are geared toward beginner boat builders and are therefor very user friendly. He also gears his plans toward commonly obtained materials and common dimensions. Outside of the epoxy and fiberglass, everything else for the hull construction can be found at Menards or an equivalent lumber yard.
This is a first boat for me besides a wooden kayak I built as a kid and I felt that it would be an ideal starting place to hopefully launch a lifelong obsession(like I really need another one, don't get me going about motorcycles).
The second part of this story, meaning much more than the adventurous pipe dream in my head and the nuts and bolts of construction, is that this is my opportunity to learn from my Grandfather, something he knows well and loves dearly. It's truly a once in a lifetime opportunity to learn skill and technique, to hear the stories and lessons learned and spend quality time with someone who means a lot to me. We may be building a boat, but it's everything that happens in between that truly matters.

 Today we'll be gluing the edge pieces onto the bulkheads. "Glue" is usually thickened with a very strong filler like Colloidal Silica. The consistency is about that of peanut butter(think the natural kind, not the hydrogenated oil kind). The surfaces are well coated on both sides and when compressed, a small amount should squeeze out. It is absurd how strong this bond is and absurd how hard it is to sand. Again, the idea being that we could pull all of the fasteners later if we wanted.